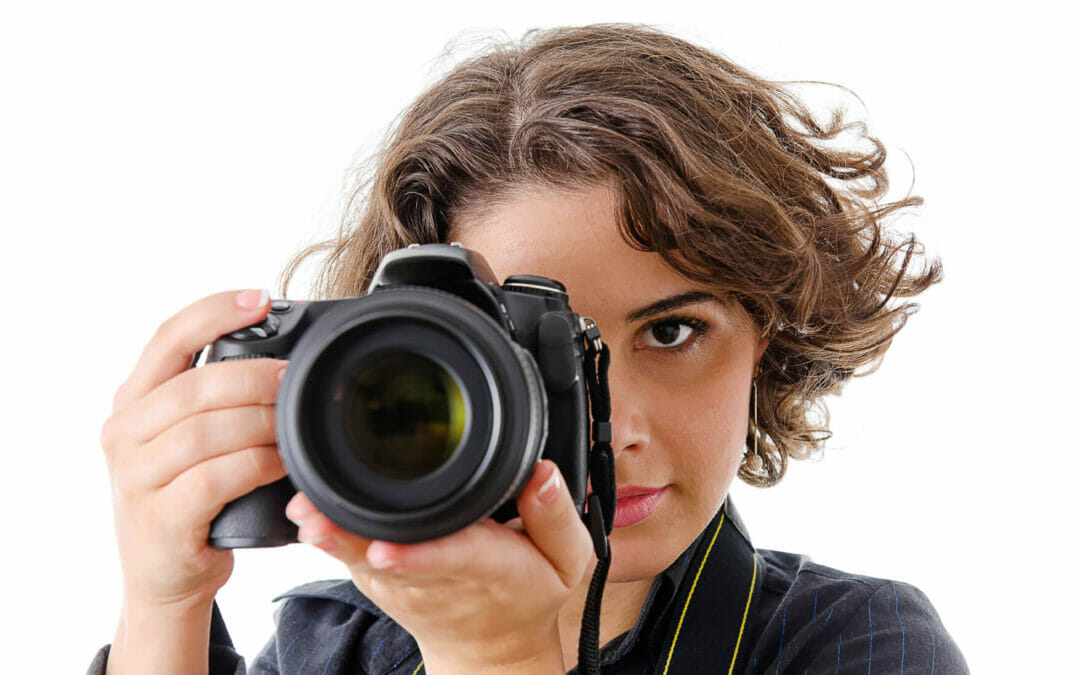
So you’ve decided to step up your photo game. Maybe you’re starting with a beginner camera to take professional-quality DSLR portraits, or perhaps you found an old film camera and want to try your hand at an old-school snapshot style. Whatever your skill level, we have the top tips to get you started and teach you how to use your camera.
Learn Your Camera Settings
Whether you have a DSLR (digital single-lens reflex camera), a film SLR (single-lens reflex camera), or a more basic camera, you want to first get familiar with the various settings on your camera. With a DSLR, sure, you can simply set the features to AUTO, and more often than not, you will get a decent picture. But if that was what you planned on doing, you probably wouldn’t be reading this in the first place!
For beginners, instead of jumping right into a fully manual mode, we recommend starting in aperture priority mode. (On a DSLR, this will usually be the setting labeled “A” or “Av.”) The aperture is arguably the most important setting that you have control over. This setting controls the depth of field and light exposure by way of the opening in the lens. The wider the aperture, the more shallow your depth of field. In other words, the lower numbers, such as f2.8 or lower, are best for portraits, while the higher numbers, such as f16 or higher, are better for landscapes.
Another common DSLR setting for early photo learners is shutter speed priority. If you are shooting subjects in motion, this is your best setting. Whether you’re a wildlife enthusiast trying to capture a bird in flight or a soccer fan trying your hand at sports photography, if your subject is active or fast-moving, shutter speed priority will create that freeze-frame photo you want. Once you get comfortable with the aperture and ISO settings, you can move on to manual settings.
Protip: Aperture is also commonly referred to as “f-stop.”
Setting up the Shot and Learning Composition
Learning how to frame your shot and position your subject or subjects is just as important as learning the ins and outs of your camera settings. While there are many ways to set up compelling and engaging shots, the rule of thirds — placing your subject in the left or right third of an image, leaving the other two-thirds more open — is a tried-and-true method to follow in the beginning stages of learning the art of photography.
Most beginners tend to want to center their subjects in their photos. It seems logical, right? However, the rule of thirds states that placing your subject in just one-third of your image, to the left or right side, generally creates the most visually compelling imagery.
Hands-on Learning
The only way to truly learn how to take a picture is by doing it. Practice makes perfect, right? These tips and tricks will certainly help get you started, but the best way to learn how to use your camera is by taking an in-person class and learning from the experts themselves. From beginner workshops to travel photography tours, we can help guide you along your path to being an excellent photographer.
